The first time you spot it, it’s usually on your phone at midnight, thumb scrolling through the sneak peeks. Wedding dress proportions can look perfect in the mirror and still shift on camera perspective, turning a beautifully fitted gown into something that reads “off” in photos. It’s not vanity; it’s geometry, and it’s fixable with one small adjustment.
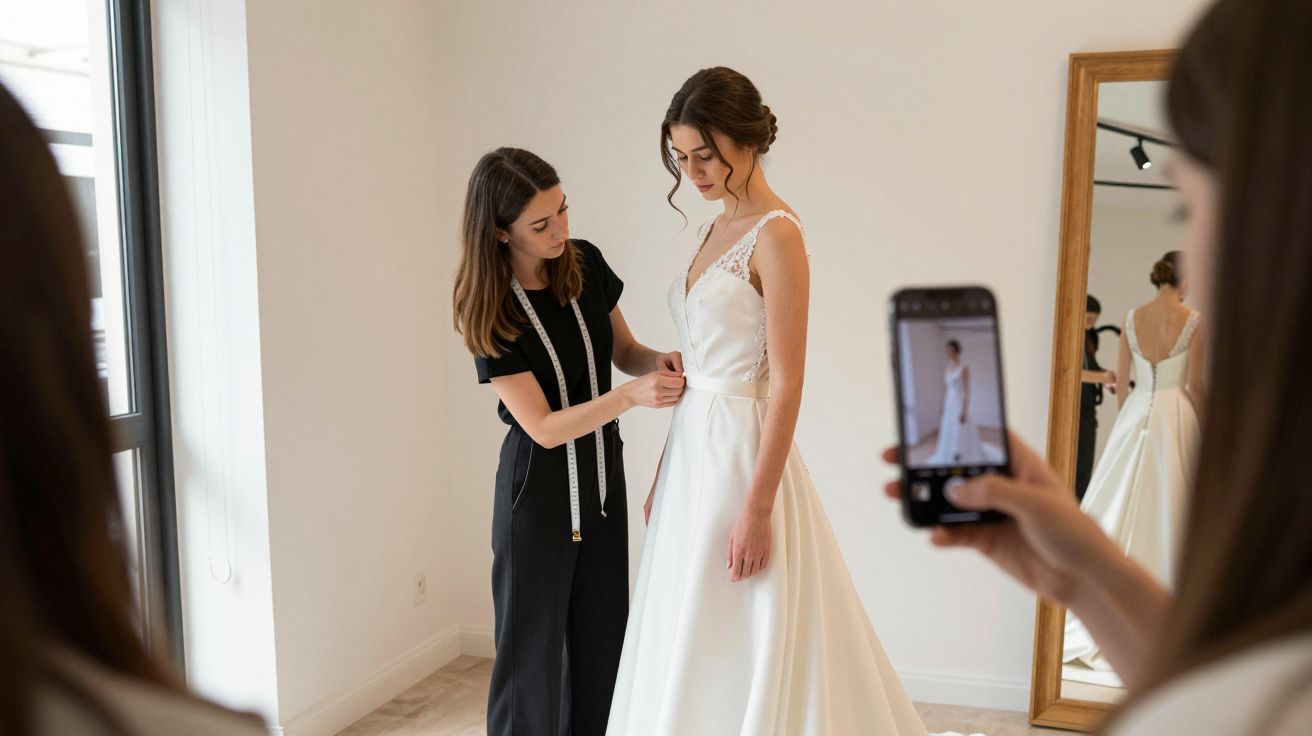
I learned this the hard way at a friend’s fitting in Leeds. She’d found a dress that made everyone in the room go quiet in that good way. Then the shop assistant took a quick picture from slightly below, and suddenly the bodice looked shorter, the waist looked lower, and the skirt felt heavier than it did in real life. Same dress. Different angle. Different story.
The adjustment brides don’t feel - until the camera shows them
Most brides notice the same thing, even if they describe it differently: “My torso looks shorter,” “My hips look wider,” “My dress is swallowing me.” In the room, your eyes move; in a photo, the frame freezes one viewpoint and judges hard. A tiny change in where the waist reads can change everything.
The adjustment is almost always this: raising the visual waist by a small amount, usually by tweaking where the dress “breaks” between bodice and skirt. It can be as simple as lifting the waist seam (or the point where the bodice ends) by 1–2 cm, moving a belt or applique slightly higher, or shortening the bodice while keeping the actual waist comfortable.
You don’t necessarily feel that difference standing still. You see it when the lens compresses you from the wrong height, especially in group shots and dancefloor photos.
Why camera perspective picks on bodices and waists
Cameras exaggerate whatever is closest and diminish whatever is further away. If a photographer (or a well-meaning aunt) shoots from a slightly low angle, the skirt comes forward and the upper body can recede. If the bodice is even a touch long, the frame can make it look longer still, pulling the waistline down visually.
Mirrors forgive because you’re viewing yourself at eye level, with depth cues and movement. Photos don’t. They flatten you into shapes: neckline, bodice length, waist placement, skirt volume. When wedding dress proportions are a fraction out, the camera doesn’t debate it; it declares it.
A quick check that shows the problem fast: have someone take three photos in the same spot-one from chest height, one from waist height, one from knee height. If the “waist” of the dress seems to travel down your body as the camera drops, you’re seeing perspective at work, not your body changing.
How to spot it at a fitting (before it becomes a photo regret)
Bring shoes with the right heel height, stand on a hard floor, and take photos early-before you’re emotionally attached to “this is the one”. Ask for a straight-on photo and a slight angle, both at about chest height.
Look specifically for these tells:
- The distance from shoulder to waist looks unusually long compared to the mirror.
- The widest point of the skirt starts too low, making the midsection look heavier.
- The neckline looks lower in photos than it feels in person (often linked to bodice length and tilt).
- Your legs look shorter even with heels (a classic “waist reads low” sign).
If you’re unsure, zoom out. Close-up photos lie; full-body photos reveal the proportions.
The practical fixes a seamstress can make (often in minutes, not months)
Not every dress can be rebuilt, but many can be nudged. A good alterations specialist thinks in millimetres and illusion.
Common solutions include:
- Lift the waist seam slightly (where possible) or shorten the bodice above the waist.
- Move a belt, bow, or lace band higher so the eye finds the waist sooner.
- Adjust strap length to stop the bodice “dropping” and lengthening visually through the torso.
- Change bustle points so the skirt doesn’t drag the back down and shorten the legs in photos.
- Rebalance volume by removing a layer, changing the underskirt, or adjusting where fullness begins.
One important note: raising the visual waist is not the same as cinching tighter. You’re not trying to squeeze; you’re trying to place the dress’s landmarks where the camera reads them as flattering.
A quick “before you approve the alterations” photo routine
Do this in the shop changing area with decent light. It takes five minutes and saves you weeks of second-guessing.
- Stand naturally (don’t pose yet), arms relaxed.
- Take one photo from chest height, straight on.
- Take one photo from the same height, turned 30 degrees.
- Take one seated photo (this is where bodices misbehave).
- Take one photo with you holding your bouquet position (or a rolled-up cardigan as a stand-in).
If the waistline looks stable across those shots-staying where you want the eye to land-you’re in a good place.
The goal is simple: make the dress read the way it feels, even when the camera isn’t being kind.
Tiny proportion tweaks that make a big difference
These are the small “nobody will notice, everybody will feel it” changes that help wedding dress proportions survive real wedding photography.
| What looks off in photos | Likely cause | The usual tweak |
|---|---|---|
| Torso looks short, skirt looks dominant | Visual waist reads low | Lift waist detail / shorten bodice |
| Hips look wider than in mirror | Fullness starts too low | Rebalance underskirt or layers |
| Neckline seems lower on camera | Bodice tilts or drops | Strap/side support adjustment |
A final reality check: not every photo will be your favourite. But if the dress is proportioned for both life and lens, you won’t spend the next morning zooming in on a seam wondering what happened.
FAQ:
- Will this make the dress less comfortable? Not if it’s done as a proportion adjustment rather than extra tightening. A good seamstress can lift the visual waist while keeping breathing room.
- Does this matter if I’m tall/short/curvy/petite? Yes, because it’s about where the dress’s “landmarks” sit on you and how camera perspective interprets them, not about one body type.
- Can I fix this with posture or posing? Posing helps, but it’s a patch. If the waist reads low in neutral standing photos, you’ll fight it all day.
- When should I bring this up in alterations? At the first alterations appointment, before anything is hemmed or the bodice is fully set. Small shifts are easier early on.
- What if my dress has no waist seam (e.g., sheath or slip)? The same idea applies: you adjust the “break” with seam shaping, strap length, or placement of details (like a belt or lace motif) to lift where the eye lands.


Comments (0)
No comments yet. Be the first to comment!
Leave a Comment